When Corby and I watched Guardians of the Galaxy Vol 2 it was clear what we needed to do for our family costume this Halloween. Little R is just going to be too cute as a baby Groot. And with all the awesome jackets, it will be easy to make these costumes warm.
There are a lot of little details in these costumes, even looking at just the pants for Corby, I thought the easiest way to create these pants would be to channel my inner Dr. Frankenstein. I could save myself a lot of work by taking aspects of already made pants and piecing them together.
I started by looking at the materials I already had. Corby has quite a few pairs of slacks he doesn't need anymore since he had them when he worked at a job that required him to look spiffy. I chose a few pairs that I thought had similar textures to the various aspects of the pants in the movies.
I began by having him put on one pair and while he was wearing them drew with white chalk different places where the pants appear to be pieced together with different kinds of fabric.
When that was done I had him take off the pants and began deconstructing by removing the inseam. I did this to each pair of pants I had planned on using.
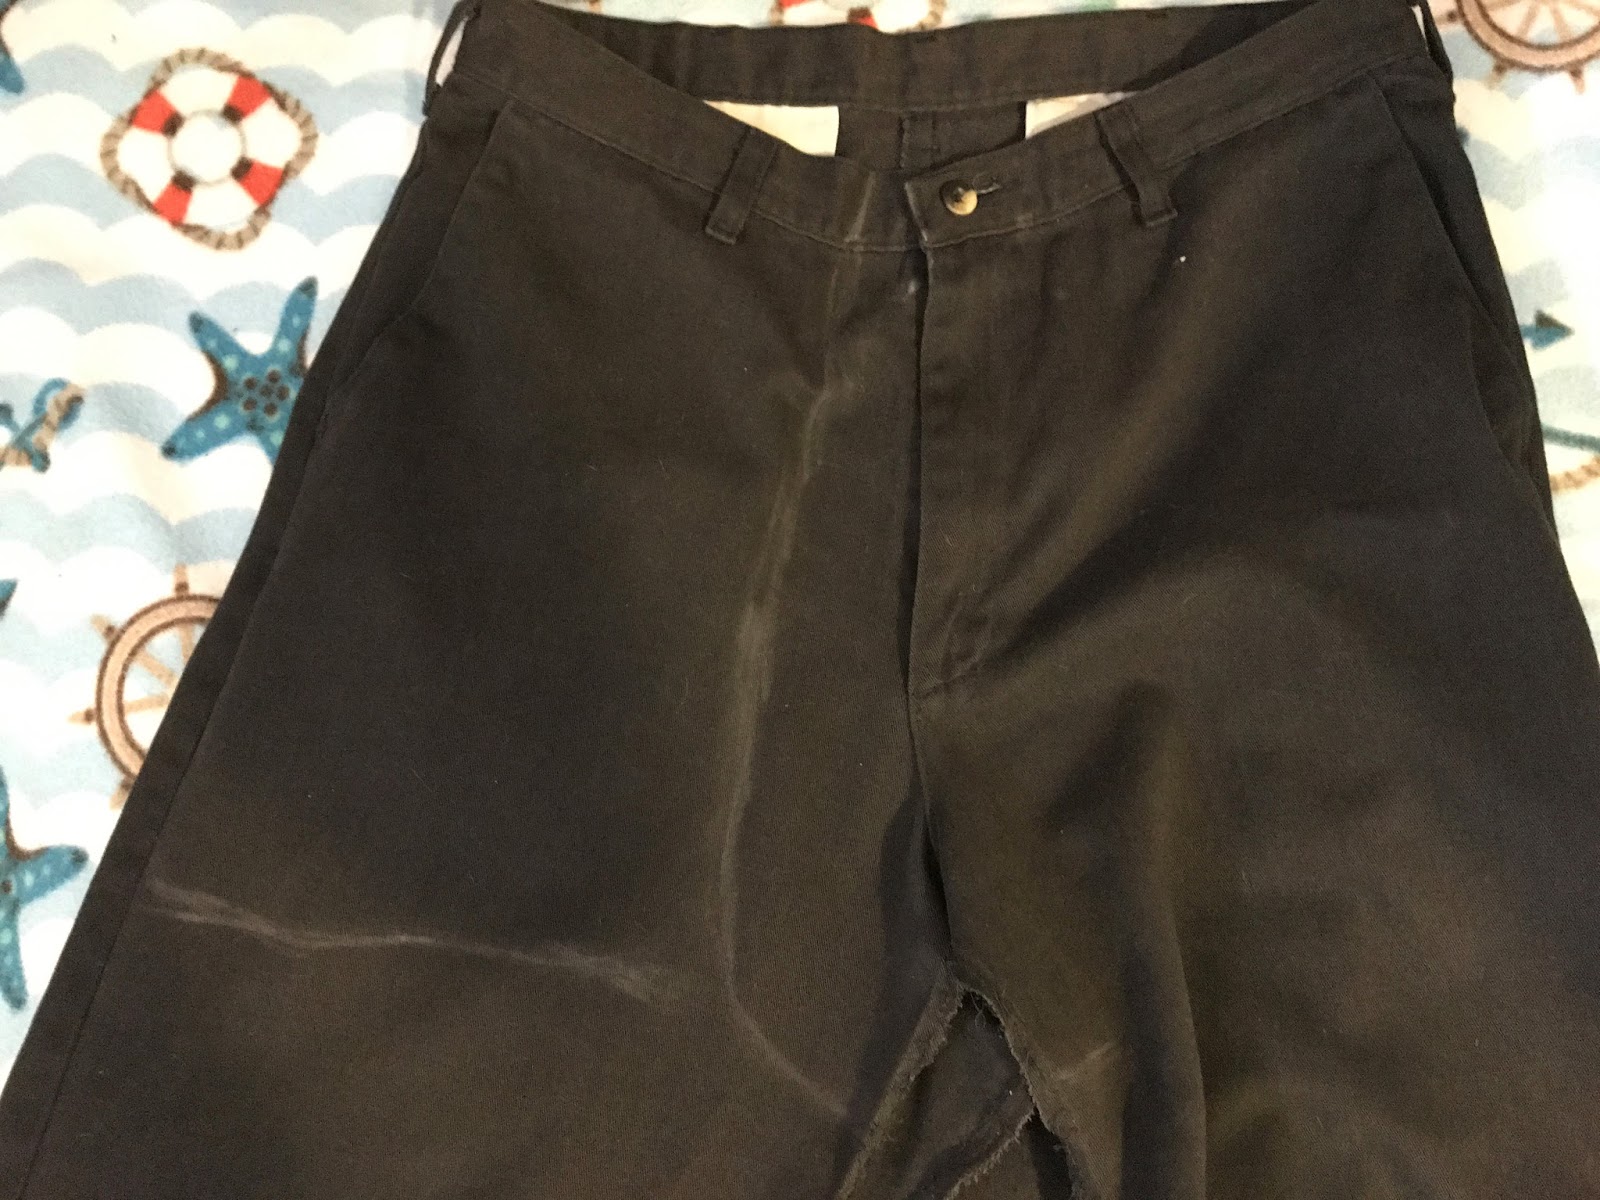
With that done, I folded the front of the pants and cut out the crotch and zipper by following my chalk lines.
Laying out the crotch from the first pair of pants, onto the second, I drew out the piece I would use to replace the piece I cut out of the first pair.
Here you can see that I drew the lines a bit wider on the second pair than I had cut on the first pair. This was so that I could widen the waistband a little. The first pair just fit a bit snugly. With this done, I was able to cut out the crotch of the second pair of pants so that they would fit into the first pair.
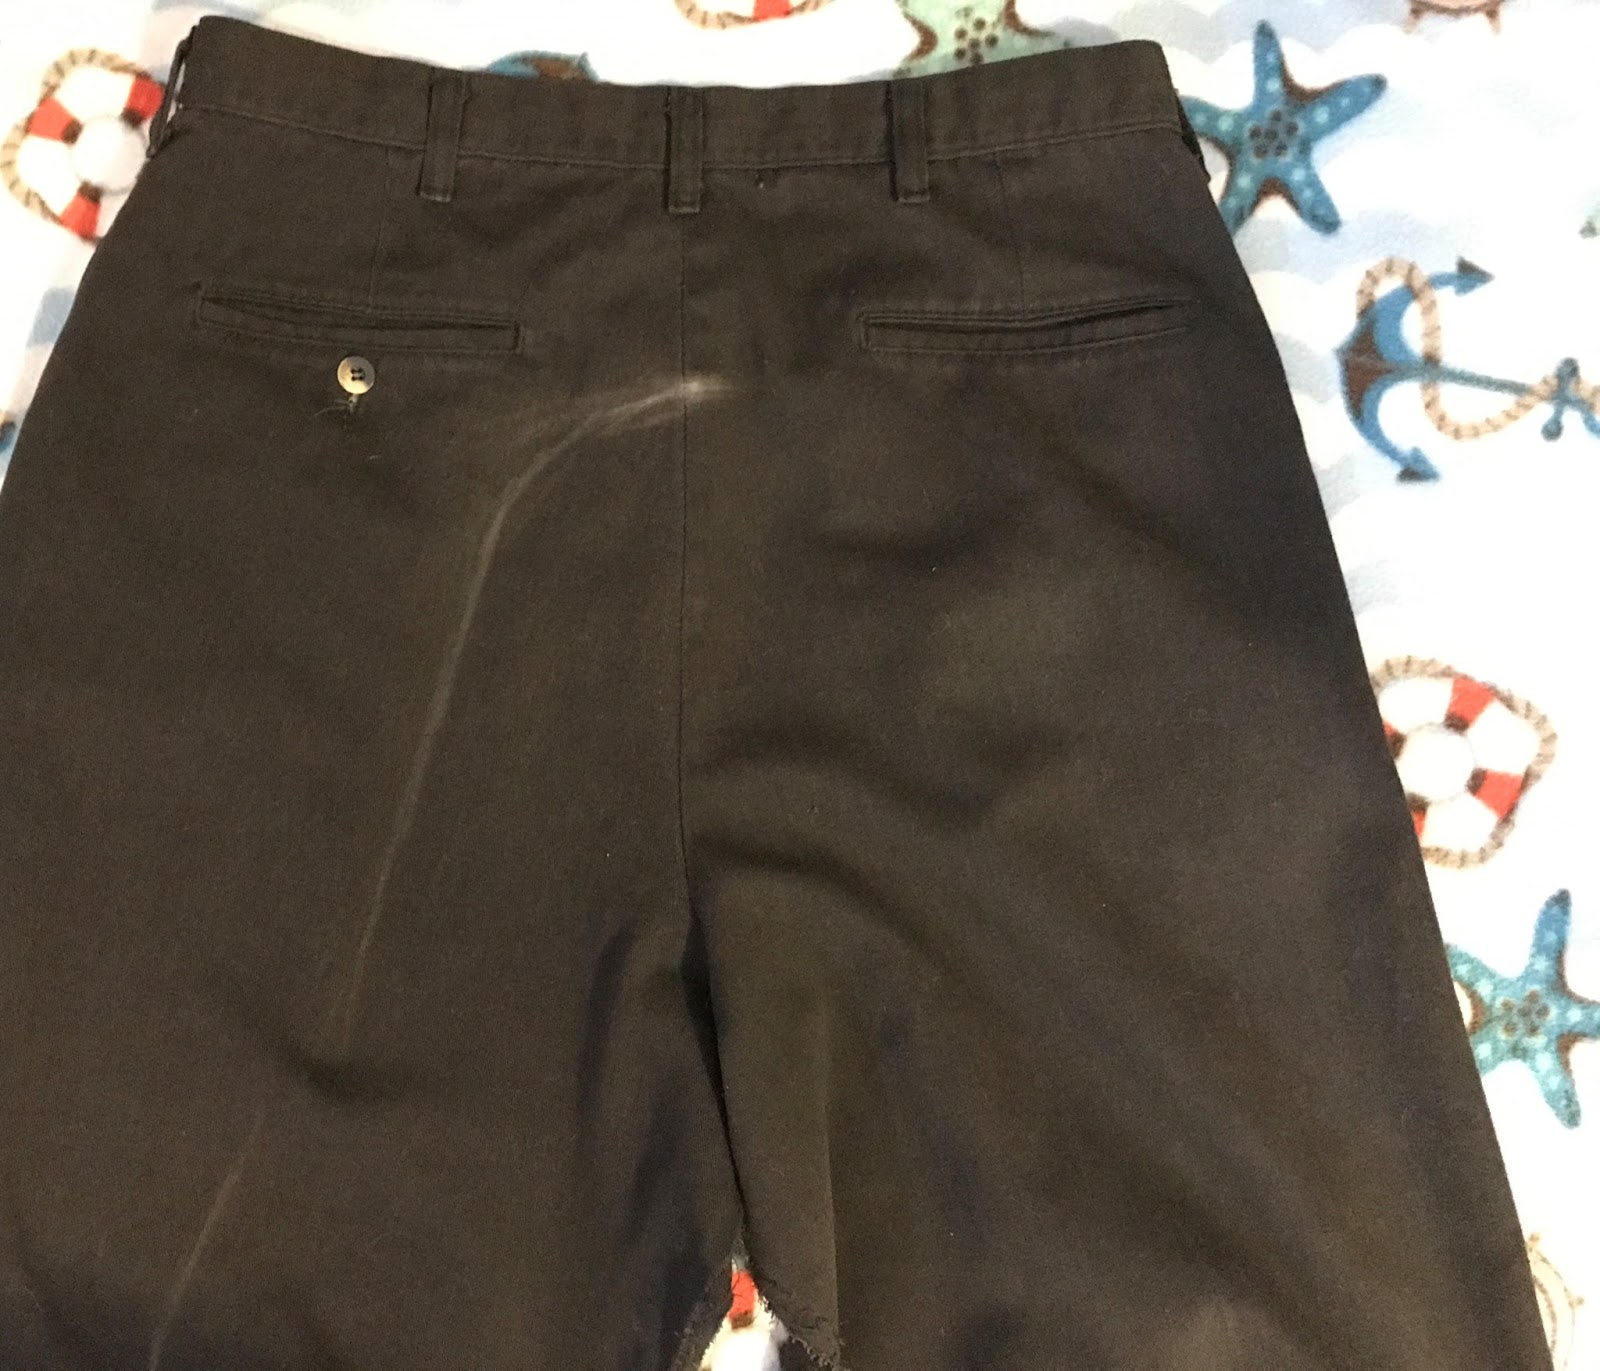
Then I tackled the back of the pants the same way I did the front. My original chalk lines were a bit faded, and I wasn't 100% happy with the shape, so I redrew them before cutting. because I was doing this without a pattern I had to be careful before each cut.
Here you can see where I cut out the butt of these pants, I then used the piece I cut out of the first pair of pants and used them as a pattern to cut out a piece the same size and shape from the second pair. When that was done I used the same method to cut out the brown fabric from the third pair of pants. I stitched them all together to see that they would fit. It wasn't perfect, but it worked! I was ready to get started with some details.
I decided to use bleach to add lines to the front of the pants. I think paint would have worked better to get crisp lines, but my paints are in storage right now and I liked the color the bleach left. I began by taping around the edges of the fabric I wanted to be striped.
Next, I added diagonal stripes with tape. I tried to be as consistent as I could in making sure they were evenly spaced. In order to try and get the lines perpendicular from one side to another, I held a pencil over the first set I did and positioned it so it was perpendicular, then I carefully moved the pencil to the other side without changing the angle I was holding it in. I feel that this worked fairly well.
The trick with this is that you don't want to get too much bleach on the fabric, or it will travel along the fibers under the tape and create bleeding. I learned to use a cotton ball and squeeze the excess bleach out first, then dab it along the lines. This required some patience, because you still need to get enough bleach on there to change the color of the fabric, so I found I had to go over the lines a few times in this way.
In the end you can see in the upper left side where I used too much bleach. and in the lower right were I didn't use as much. I am not too bothered by this irregularity however, because I feel it adds to the weathered look that you want when you are trying to make space-pirate pants.
I wanted to use leather to detail the pockets, but I didn't have any leather, or even fake leather I could use around the house. To solve this problem without spending a dime, I stole the leather off of a couch that a neighbor had set on the curb a month ago. I stripped as much as I could off of the spider-infested couch and washed it in the washer in cold water, and hung it out to dry. Voila! Free cosplay leather!
I drew the rectangles I wanted on the back with chalk, cut, folded and creased using the scissors as you see here. I also discovered that I could use an iron just along the edge of the leather to really reinforce the crease.
When that was done I sewed them on, folding one flap over the edge of the pocket to really make it look like it belongs there. I added the tab and snaps that I got at Walmart for about $3.00. I also used chalk to make that flap that covers the zippers. I cut two and sewed them together, leaving a gap. I then flipped them so the seam is hidden, and sewed again right around the edge. I used the button from one of the pants I ruined in the process and sewed a button hole. Then I just had to sew one edge down over the zipper. I feel that this was a pretty key feature.
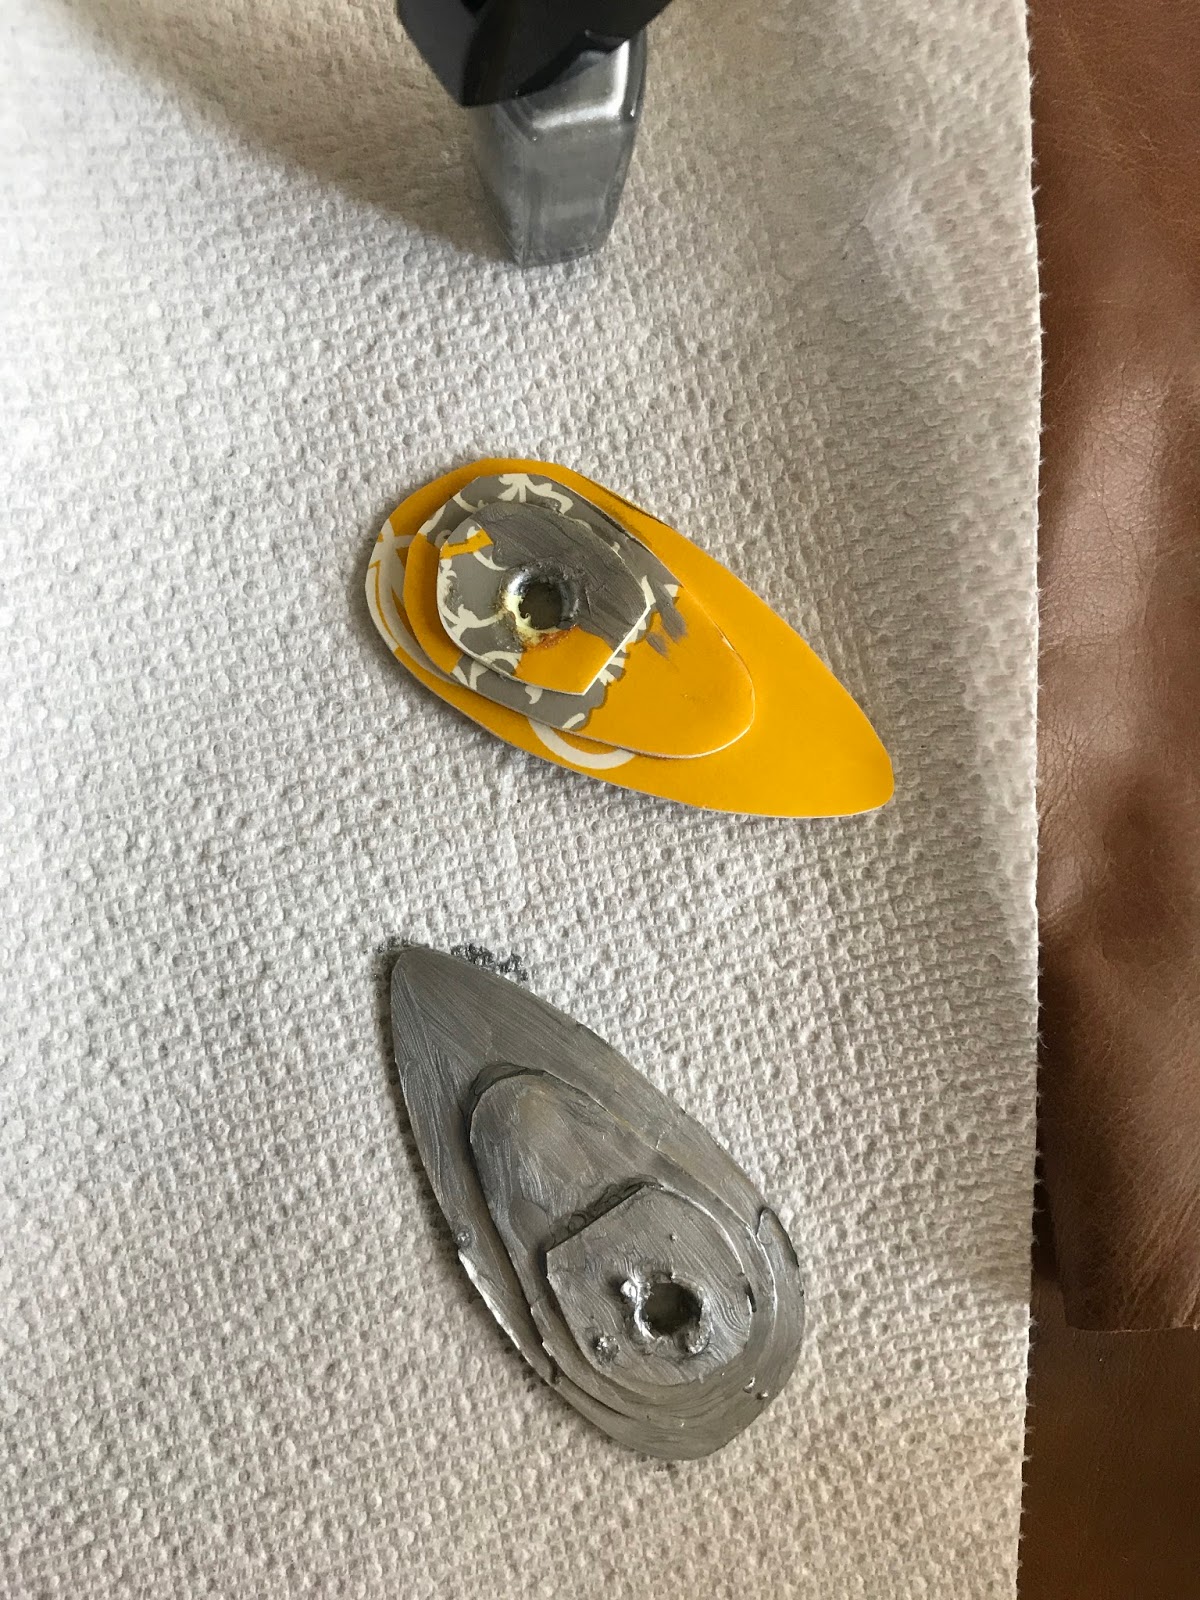
I also added the little metal thingies that are down by his knees. I started with a foamy vinyl place mat from the dollar store, and drew the shapes I would need. After I cut out the first set, I traced them and cut out the second.
I used more of that free couch leather to cut out another shape and glued the foam place mat pieces together with a hot glue gun.
Before attaching the foam to the leather I needed to add holes and paint them. the holes were tricky, because I couldn't just cut them out. I finally poked holes with a pencil, widened them with the scissors, and used the nozzle of the hot glue gun to melt them just a little bit. The holes looked a little rough, but it worked. Then I painted them with some silver nail polish, and finished gluing.
Again, because I made these without a pattern, and used different pants of different sizes, they aren't perfect. there was a space left in the knees, but I used some more leather and made knee pads. It worked out because I could see some kind of knee detail in my reference photos as well.
Some more details to be noted: I darkened the brown thigh section with black shoe polish but left some of the brown showing through to keep that weathered look. that section is also a functioning pocket with the entrance behind the inner-thigh flap.
Cost rundown:
Snaps: $3.97
Thread: $2.97
Foam: $1.00
Nail Polish: $2.00
Shoe Polish: $2.96
Everything else I had on hand or found for free!
Total: $12.90
If you liked this post, check out how the family costume turned out here:
Guardians of the Galaxy Family Costume


Comments
Post a Comment