
Building Spider-Woman's boots


I knew E6000 would work for this project because when I was student-teaching that is what my mentor used to fix my shoes and they are still holding strong. I began by dismantling the old flip flops


I then used the old technique of wrapping my foot and leg in tape and cling-wrap then cutting it out to make a pattern.


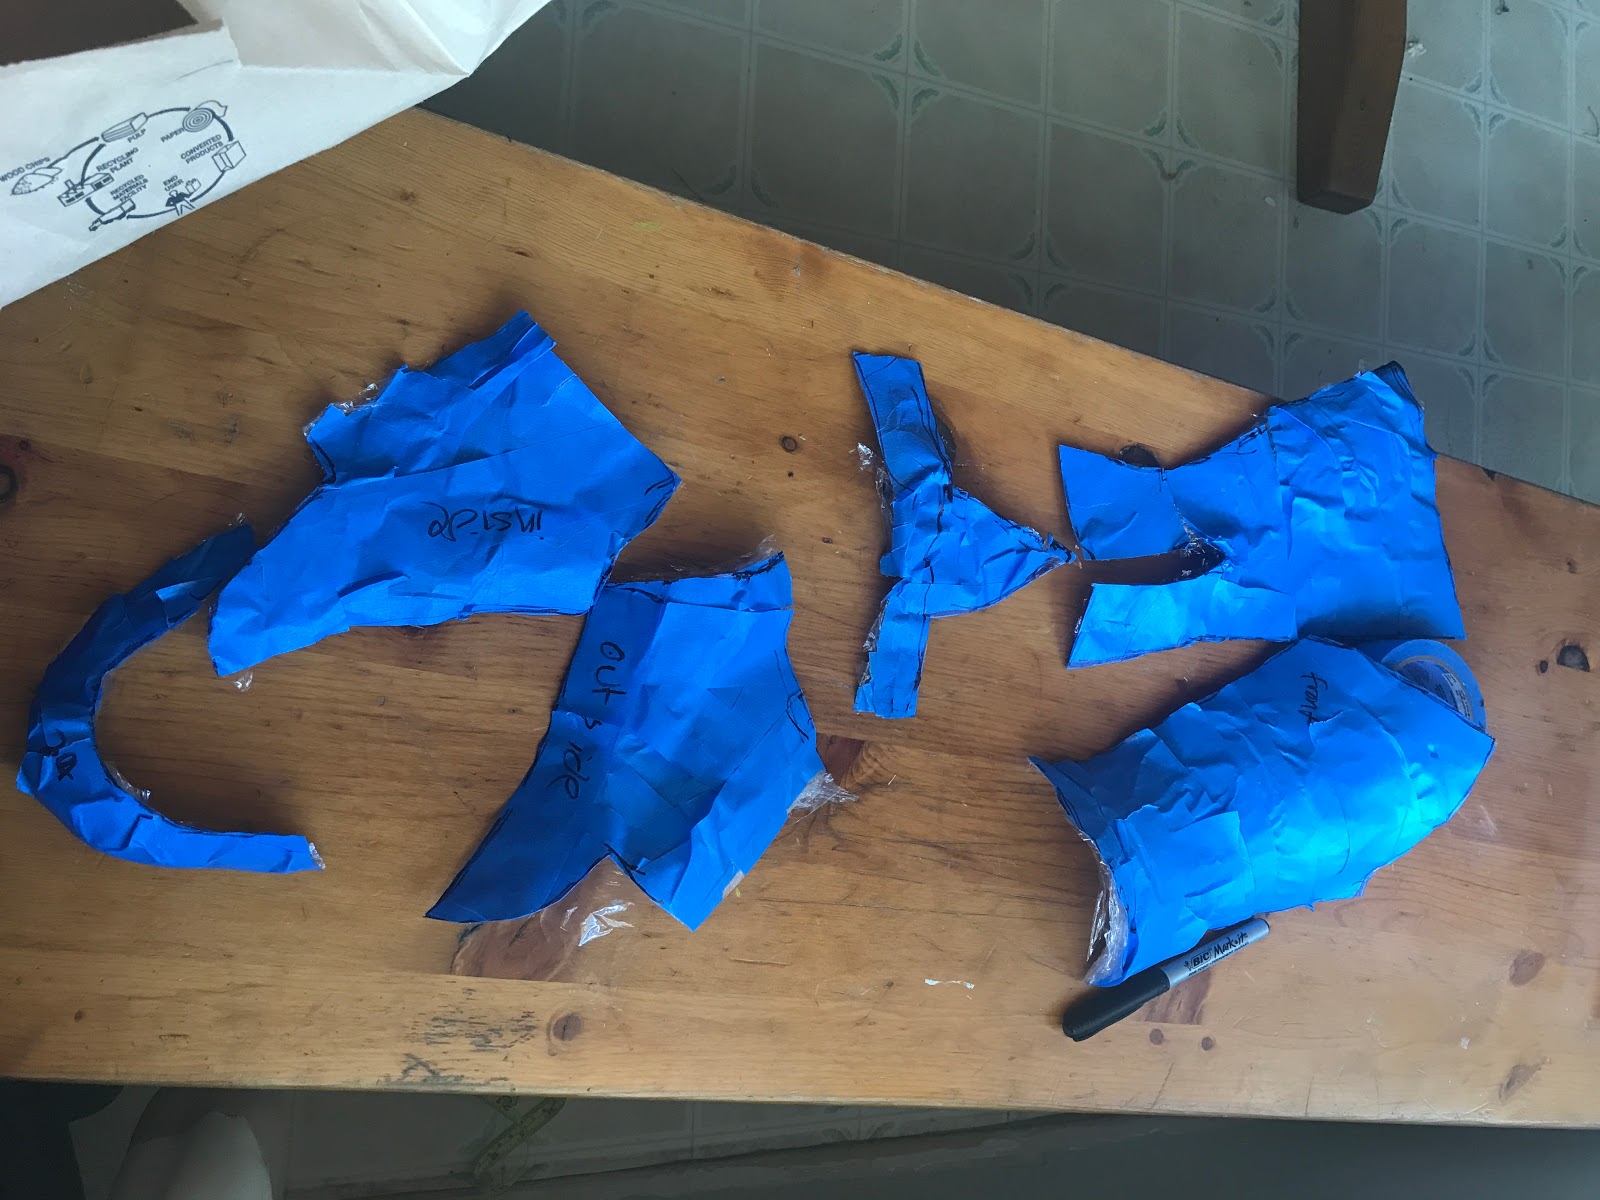

Once I have the pattern I like to make a mock up first to see how it all fits together, this helps me to adjust the pattern to fix little flaws I notice. A mock-up is just a quickly sewn together iteration of the pattern in cheap fabric.I like to use old sheets from a thrift store, I can usually get them for a dollar to fifty cents, and they are big pieces of fabric so I can use them for multiple projects before I have to get more. Once I like how things are fitting together I can cut out my nice fabric and sew it together.


For the boots I fully lined the front of the boot because I wanted them to be stiff enough on my leg that they don't sag and wrinkle, so when I am wearing them the nice peak in the front and the detail of the criss cross (which was a design I preserved from the couch) are nice a crisp.

As I said before I used the zippers from the couch, so this is a detail of how I finished it at the top so the zipper pull doesn't just slide off. Once this was all done I was ready to attach it to the soles.

Just to make life easier I began by hot-gluing the edges around the top part of the sole, this piece felt a lot like foam, so you may be able to use EVA foam or something like that. This step was just to help it hold position until the E6000 attaches it more securely, I do not recommend using hot glue to keep your shoes together.


Once that was done I was ready to attach the inner sole to the rubber bottom piece. Thinking about the best way to do this, I knew I would need some pressure to be distributed fairly evenly. I decided to cut a rough insert in the shape of the shoe out of some scrap MDF board I had in my garage and another scrap piece to sandwich the shoe together.


One thing I really like about E6000 is that it doesn't take long to begin to bond, so you don't have to leave it clamped for too long, but it does take about 24 hours to fully cure so you shouldn't wear the shoe until you have given the glue enough time to set.


For a first time making shoes, I feel they turned out fairly well, though they don't provide much support or cushion, they are overall comfortable. I do wish I had double lined the whole shoe so that it is all just a little more stiff, but it was a great learning experience. When I was looking into making this, this series of posts, diy shoes was a big help.
To see my Spider-Woman gloves, click here
Click here to see how I made the accessories that go along with the costume
To see how the costume came together in my photo shoot Click Here

Comments
Post a Comment